Apothecary Tool Sanitizing: 4 Steps for Clean Batches
A batch of beard balm can have the right scent, the right glide, and the perfect firmness—and still create problems if the tools behind it were not properly cleaned.
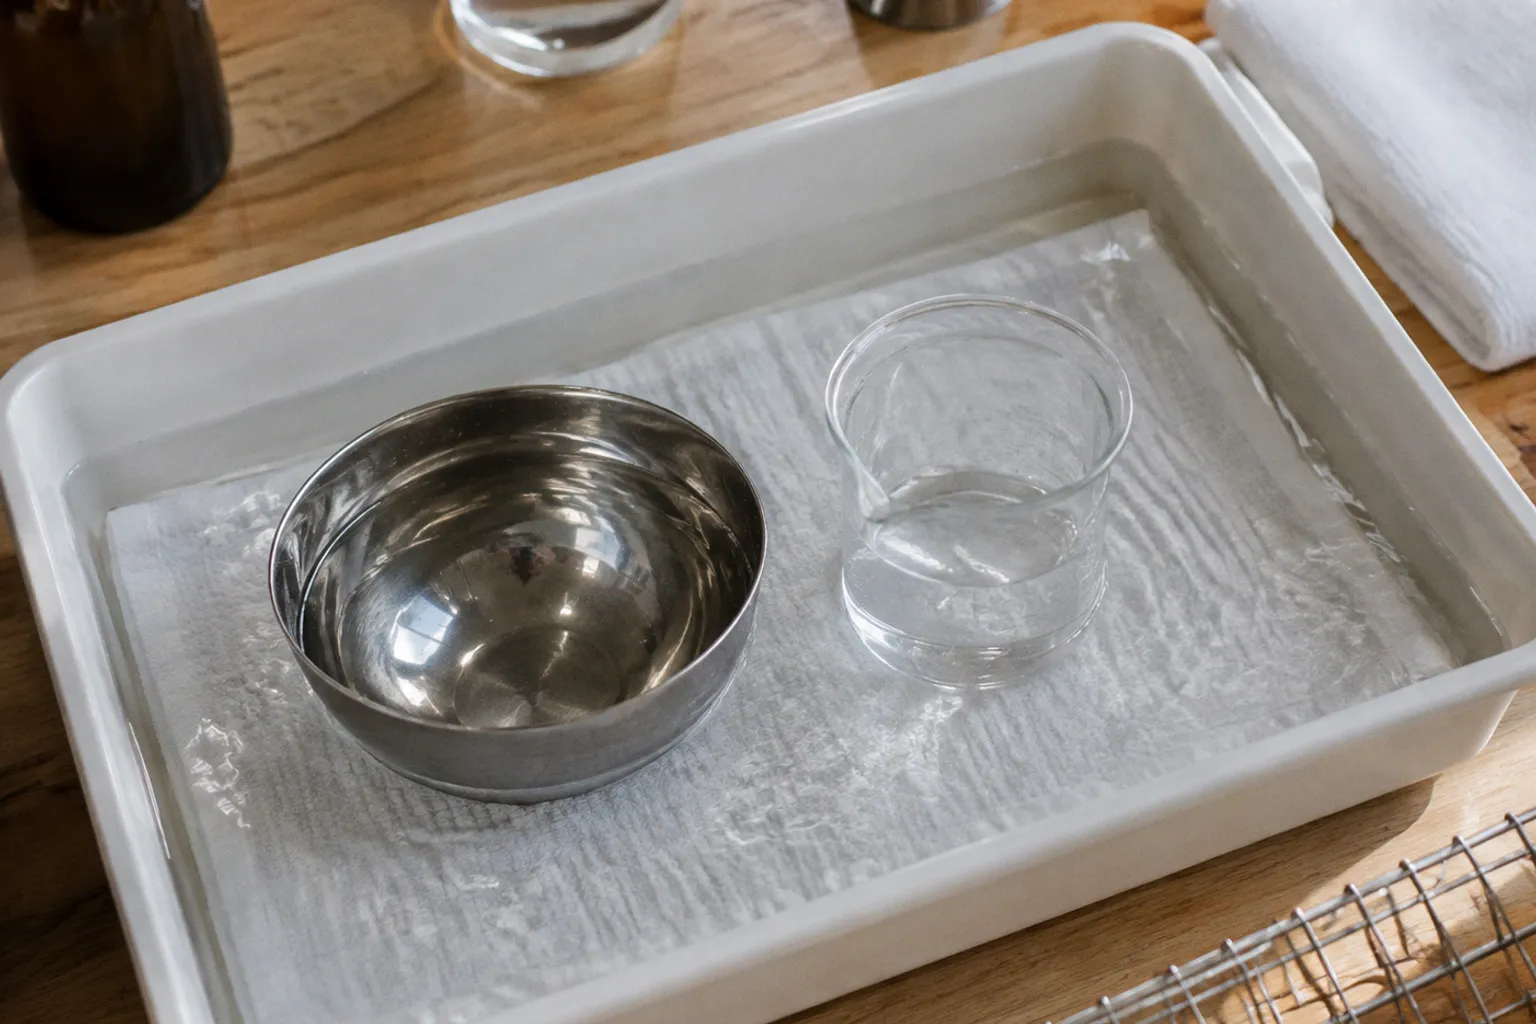
Residue from an earlier formula, traces of fragrance, dust, skin oils, or microbial contamination can move from a spatula into a finished product without leaving any visible clue.
That is why a small batch skincare sanitization procedure is not a cosmetic extra. It is part of the formula. Clean tools protect the product, the person using it, and the reputation attached to every jar or tin you sell.
There is no single spray that fixes a dirty workstation. Reliable sanitation is a sequence: control your hands and workspace, remove residue with detergent and water, disinfect or heat-treat compatible equipment, and dry or store everything without recontaminating it. Each stage has a different job. Skipping one makes the next one less effective.
The Foundation: Hand Hygiene and Workspace Preparation
Before your tools touch an ingredient, your hands are already part of the process. They touch drawer handles, phones, packaging, taps, labels, and containers. That makes hand hygiene one of the most important cosmetic workstation sanitization steps, particularly in a small room where the same person may be weighing ingredients, answering messages, and filling jars.
Wash your hands with warm water and a mild, fragrance-free soap. Work the lather over the palms, backs of the hands, between the fingers, around the thumbs, and under the nails. Rinse thoroughly and dry with a clean disposable towel or a freshly laundered lint-free towel. Hand sanitizer is useful when a sink is not immediately available, but it does not replace proper handwashing when your hands are visibly dirty or greasy.
Keep nails short and remove rings, bracelets, and watches before production. These items create sheltered areas where residue can remain even after washing. If you have a cut or irritated patch of skin, cover it securely and consider whether you should be handling an open batch at all. Gloves can reduce direct contact, but they are not magic barriers. A gloved hand that touches a phone, hair, cupboard, or unclean surface is still a contamination route.
Wash your hands again when you:
- move from cleaning into formulation;
- touch your face, hair, phone, or door handle;
- handle waste or used paper towels;
- pause long enough to leave the workstation;
- switch between a raw ingredient area and a filling or packaging area.
The work surface needs the same discipline. Clear away unrelated objects, including coffee cups, personal notebooks, loose packaging, and decorative items that collect dust. Wipe the bench before setting out equipment. Do not spray disinfectant onto a surface covered in oil, powder, wax, or dried product and assume the job is finished. First remove the mess; then use a compatible disinfectant according to its label.
A 70% alcohol solution is commonly used on suitable hard, non-porous surfaces, but it is not appropriate for every material. Some plastics become brittle or cloudy after repeated alcohol exposure, and certain finishes or printed markings can be damaged. Check the equipment manufacturer’s guidance where available. Alcohol is also flammable, so keep it away from flames, hot plates, burners, and heat sources, and use it with adequate ventilation.
Your scale, thermometer casing, drawer pulls, and filling tools all deserve attention. The parts that never touch the product can still transfer contamination to your hands and then to the batch. Keep only the equipment needed for the current formula on the bench. Less clutter means fewer surfaces to clean and fewer opportunities to confuse clean tools with used ones.
A clean workstation is not the room that looks tidy in a photograph. It is the room where every surface and tool has a known status: dirty, cleaned, disinfected, drying, or ready for use.
Physical Removal: The Necessity of Detergent and Water
The first real tool-cleaning stage is not alcohol. It is detergent and water.
This is where many makers lose time by reaching for a disinfectant too early. Oils, butters, waxes, powders, pigments, fragrance materials, and dried emulsions can form a film over a tool. Microorganisms may be protected underneath that film, while the disinfectant is spent reacting with the residue instead of reaching the surface.
Cleaning and disinfection are different operations. Cleaning removes soil. Disinfection reduces microorganisms on a reasonably clean surface. One does not automatically replace the other.
For how to sanitize cosmetic making tools properly, start by separating the equipment according to material and construction:
1. Disassemble what can be disassembled. Remove lids, gaskets, detachable blades, caps, and mixing attachments. Product hides in threads, seams, hinges, and the underside of fittings.
2. Soak only when the material allows it. A short soak can soften waxes and dried cream, but prolonged exposure to water can damage wood, untreated metal, adhesives, or equipment with electrical components.
3. Use warm water and a grease-cutting detergent. The water should help loosen the formula without creating a burn risk. A clean, dedicated brush is more useful than a soft sponge that has already absorbed kitchen grease.
4. Scrub the difficult areas. Pay attention to spatula edges, bowl rims, whisk joints, pipette openings, mold corners, and the threads of jars or bottles.
5. Rinse until no detergent or formula remains. Detergent residue can affect a formulation, irritate skin, or interfere with the next disinfection stage.
6. Inspect under good light. Look for a cloudy film, greasy sheen, colored particles, fragrance residue, or any sticky patch. If you can see residue, the tool is not ready for disinfection.
Use cleaning equipment reserved for cosmetic production. The sponge beside a household sink is a poor choice because it can carry food residue, grease, and microorganisms from unrelated jobs. Replace brushes when the bristles become worn, split, or permanently coated with product.
For oily balm-making tools, a detergent that can break down fats is essential. For water-based emulsions, dried polymer or cream residue may need a different soaking approach. Avoid assuming that one cleaner suits every formula. The cleaning method should respect the equipment as well as the product.
Porous materials require special caution. Unfinished wood, cracked silicone, chipped plastic, and scratched surfaces are difficult to clean reliably because residue can lodge below the visible surface. If a tool cannot be fully cleaned and inspected, it should not be used for an open cosmetic batch. Some low-cost items are more sensible to replace than to rescue.
Do not place freshly washed tools in a pile. A clean item touching the inside of a dirty bowl is no longer clean. Set washed equipment on a designated clean area while you finish the rest of the load. If you are working with several products, keep tools for strongly scented, colored, or exfoliating formulas separate until they have been thoroughly cleaned.
Chemical Disinfection: Using 70% Alcohol for Surface Safety
Once a tool is visibly clean, chemical disinfection can reduce the remaining microbial load on compatible, non-porous surfaces. For many small-batch makers, alcohol is convenient because it is familiar, fast-drying, and suitable for materials such as some glass and stainless steel.
A 70% isopropyl or ethyl alcohol solution is a common working concentration. The reason is not that stronger alcohol is always worse or that 70% is a universal requirement. Alcohol needs adequate wet contact time, and water in the solution can slow evaporation and support the way alcohol disrupts microbial cells. Very high-concentration alcohol may evaporate rapidly and can be less dependable when it does not remain wet on the surface long enough.
The concentration alone does not guarantee disinfection. Product label instructions, surface compatibility, coverage, and contact time all matter. If the product label specifies a different application method or wet time, follow that instruction. Do not wipe the alcohol away immediately if the surface is meant to remain wet for a stated period.
A practical sequence looks like this:
- Transfer the solution to a clean, clearly labeled container suitable for alcohol.
- Apply enough product to cover the entire surface rather than creating a few isolated droplets.
- Keep the surface visibly wet for the required contact time.
- Allow it to dry fully before the tool touches ingredients.
- Close the container promptly and store it away from heat and ignition sources.
Spraying into the air and letting the mist settle is not a sanitation method. Neither is a quick pass over only the parts that look clean. Treat the inside of a beaker, the underside of a spatula, the threads of a cap, and the contact surfaces of a filling tool as separate areas that all need coverage.
Alcohol is not suitable for every job. It does not clean away wax or oil, it may damage some plastics and finishes, and it is not a substitute for a preservative system in a water-based product. A disinfected utensil cannot make an inadequately preserved cream safe. The final product still needs a formula appropriate to its water content, packaging, intended use, and expected shelf life.
For bottles and jars, avoid contaminating the inside after disinfection. Do not place sanitized caps on the bench with the inner surface facing downward. Handle containers by the outside whenever possible, and use clean tools or gloves when filling. If packaging comes pre-cleaned or sealed, keep it closed until the filling stage.
Choosing between alcohol and heat
The best method depends on the tool. A glass beaker may tolerate a process that would damage a thin plastic dropper. A metal spatula may be easy to boil, while an assembled pump dispenser may trap water and become difficult to dry.
| Equipment or surface | Suitable approach | Main caution |
|---|---|---|
| Glass beakers and stirring rods | Detergent wash followed by compatible alcohol disinfection; heat treatment if the item is designed for it | Check for chips and thermal shock before heating |
| Stainless steel spatulas and utensils | Thorough detergent cleaning, then alcohol or heat where appropriate | Dry promptly to reduce corrosion and water spots |
| Flexible plastic tools | Detergent cleaning and a compatible disinfectant | Alcohol and heat can damage some plastics |
| Silicone molds | Detailed washing followed by a compatible disinfectant | Inspect seams, cuts, and embedded residue |
| Pipettes, pumps, and narrow openings | Clean according to the manufacturer’s instructions | Internal spaces can retain moisture and product |
| Wooden or porous tools | Avoid for open cosmetic batches when they cannot be fully cleaned | Porosity makes inspection and reliable disinfection difficult |
Do not improvise a stronger chemical mixture because the equipment looks especially dirty. If contamination is suspected, repeat the cleaning stage and replace compromised items rather than combining chemicals. Never mix alcohol with bleach, acids, or other cleaners.
Thermal Treatment: What Boiling Can—and Cannot—Do
Heat is useful for heat-resistant tools, but boiling needs to be described accurately. A pot of boiling water can reduce many microorganisms on an immersed item. It is not the same as validated sterilization, and it should not be presented as a guaranteed way to destroy every bacterial spore.
That distinction matters most when making water-based products, where microbial control is already more demanding. Boiling may be an appropriate additional step for certain glass or stainless-steel tools, but it does not replace correct cleaning, disinfection, preservation, packaging control, or microbial testing where testing is required.
Before using heat, confirm that the item is designed to tolerate it. Avoid boiling equipment with glued joints, delicate printed markings, unknown plastics, electrical parts, or trapped air in sealed cavities. Sudden temperature changes can crack glass, so allow cold items to warm gradually and handle them carefully.
For compatible tools:
1. Wash and rinse them first. Heat cannot reliably compensate for grease or dried product left on the surface.
2. Place the items in water so that the areas requiring treatment are fully immersed.
3. Bring the water to a steady boil and maintain the treatment for the period appropriate to the equipment and your process.
4. Remove the tools with clean tongs rather than bare hands.
5. Transfer them to a clean, protected drying area without touching the working surfaces.
Use a vessel dedicated to cosmetic equipment if possible. A household cooking pot can carry food residue, and a pot used for cosmetic pigments, waxes, or cleaning chemicals should not return to food preparation. More importantly, boiling does not create a sterile storage condition. The moment a treated tool is exposed to an unclean bench, wet cloth, or bare hand, its status changes.
If your process genuinely requires sterilization rather than routine disinfection, use a validated method and equipment appropriate to that claim. Small-batch makers should be careful with the word sterile. For ordinary handmade skincare production, the more defensible goal is controlled cleaning and disinfection, supported by suitable formulation and preservation practices.
Controlled Drying: Preventing Moisture-Related Contamination
A wet tool is not automatically a clean tool. After washing, alcohol application, or heat treatment, drying becomes the handoff between sanitation and production.
Water left inside a beaker, pump, dropper, or jar can dilute a product, alter its texture, and introduce an uncontrolled source of contamination. In a water-based formulation, residual water can be especially problematic because it changes the environment the preservative system was designed to manage. Even in an anhydrous balm, a droplet can create a localized pocket where spoilage becomes more likely.
Do not polish the working surfaces of disinfected tools with a used tea towel. The fabric may deposit lint, fragrance, skin oils, or microorganisms. Instead, place equipment on a clean, lint-free disposable towel or a properly cleaned drying rack. Arrange items so air can reach the inside and outside surfaces. Turn containers upside down only when the drying surface is clean and the position is stable.
Allow alcohol-disinfected tools to dry completely. This gives the alcohol time to evaporate and prevents liquid disinfectant from entering the formula. It also avoids the false confidence that comes from seeing a surface that is wet with alcohol and calling it ready.
For narrow equipment, drying requires more attention than simply leaving it upright. Droppers, pipettes, pumps, and tubing can hold liquid in channels that are invisible from the outside. If the internal parts cannot be cleaned and dried reliably, do not use them for a batch that depends on controlled hygiene. Disposable components can be useful here, provided they remain sealed until use and are discarded after contamination or unsuitable contact.
Once tools are dry, protect them from the environment. A clean, lidded container or covered tray is better than an open pile beside the sink. Store clean equipment separately from used tools. If there is any doubt about whether an item touched an unclean surface, put it back through the process instead of trying to remember what happened.
A simple status system helps in a busy workspace:
- Dirty: used or visibly contaminated;
- Washed: detergent-cleaned and rinsed, but not yet disinfected;
- Disinfected: treated by the selected method;
- Dry and ready: fully dry, protected, and available for the batch.
This is not bureaucracy for its own sake. It prevents a common small-workshop mistake: treating “looks clean” as a reliable technical category.
Building the Four-Step Procedure into Every Batch
The sequence is easier to maintain when it is attached to the batch rather than remembered as a vague household habit. Before starting, decide what equipment the formula requires and which pieces can tolerate alcohol, heat, or neither. Keep unnecessary tools out of the area.
The four working stages are:
1. Prepare. Wash hands, clear the bench, remove clutter, and clean the workstation.
2. Clean. Disassemble equipment, remove all product residue with detergent and water, rinse, and inspect.
3. Disinfect or heat-treat. Use a compatible method with adequate coverage and contact time. Do not confuse boiling with validated sterilization.
4. Dry and protect. Let tools dry completely, keep them covered, and handle them only by clean surfaces.
This order matters. Disinfecting before cleaning gives residue a chance to shield contamination. Drying with a questionable cloth undoes part of the work. Touching a clean spatula to a phone or unclean bench turns a finished sanitation step into a new contamination event.
Keep a small batch record for your own process. It does not need to become a dramatic production manual. Note the date, the product, the equipment used, the cleaning method, and any problem such as a cracked beaker, damaged pump, unusual residue, or interruption during filling. Records help you find patterns when a batch develops an unexpected odor, texture change, or packaging problem.
Regulatory Reality: Why GMP Standards Apply to Every Batch
Good Manufacturing Practice is not reserved for a factory with stainless-steel walls. The scale of a business may change the level of equipment, documentation, and formal validation required, but it does not remove the need to control contamination.
For makers selling cosmetics, the applicable obligations depend on where the products are placed on the market. In the European Union, cosmetic products fall under Regulation (EC) No 1223/2009, and manufacturing is expected to follow Good Manufacturing Practice. The practical framework commonly associated with cosmetic GMP is ISO 22716. Other markets have their own requirements, and local rules should be checked before selling.
That does not mean a home or studio maker must imitate a large pharmaceutical facility in every detail. It means the process should be deliberate, repeatable, and appropriate to the risk of the product. A maker should be able to explain how tools are cleaned, how ingredients and packaging are protected, how batches are identified, and what happens when something goes wrong.
The risk profile changes with the formula. An anhydrous beard balm is not managed exactly like a water-based beard conditioner. A scrub with wet botanicals, a cream, a facial mist, and a dry oil each create different challenges. Packaging matters too: a wide-mouth jar invites repeated finger contact, while a pump can reduce some exposure but may be harder to clean internally.
GMP thinking also reaches beyond tools:
- Store raw materials closed, labeled, and away from direct contamination.
- Keep expired, damaged, or unidentified ingredients out of production.
- Separate waste from clean materials.
- Control pets, food, smoke, dust, and personal items in the workspace.
- Clean spills immediately rather than letting them dry into the next batch.
- Do not return unused material that has touched a tool or packaging surface to the original container.
- Record deviations instead of silently working around them.
For a practical introduction to small-workspace hygiene, the Formula Botanica guide on GMP for small spaces is a useful starting point. It should support, not replace, the requirements that apply in the market where you sell.
A sanitation procedure also has to respect the limits of what it can prove. Clean equipment reduces one source of contamination; it does not demonstrate that a finished product is safe forever. Product safety depends on the whole system: ingredients, water activity, preservative choice, packaging, manufacturing conditions, storage, consumer use, and—when appropriate—testing.
The strongest small-batch makers do not treat sanitation as a dramatic final gesture before filling jars. They build it into the rhythm of production. Hands are washed before the batch, residue is removed rather than hidden, disinfectants are used with discipline, heat is described honestly, and drying is treated as part of the process instead of an afterthought.
That is the real indie formulator equipment sanitation standard: not a spotless-looking bench, but a controlled chain of decisions that can be repeated every time. Clean first. Disinfect or heat-treat what the material allows. Dry completely. Protect the result. Your product may be handmade, but the hygiene behind it should never be improvised.