Beard Derma Rolling: Pre-Session Checklist
A beard derma roller should never meet unwashed skin, loose hair clippings, or a face still warm from the sun.
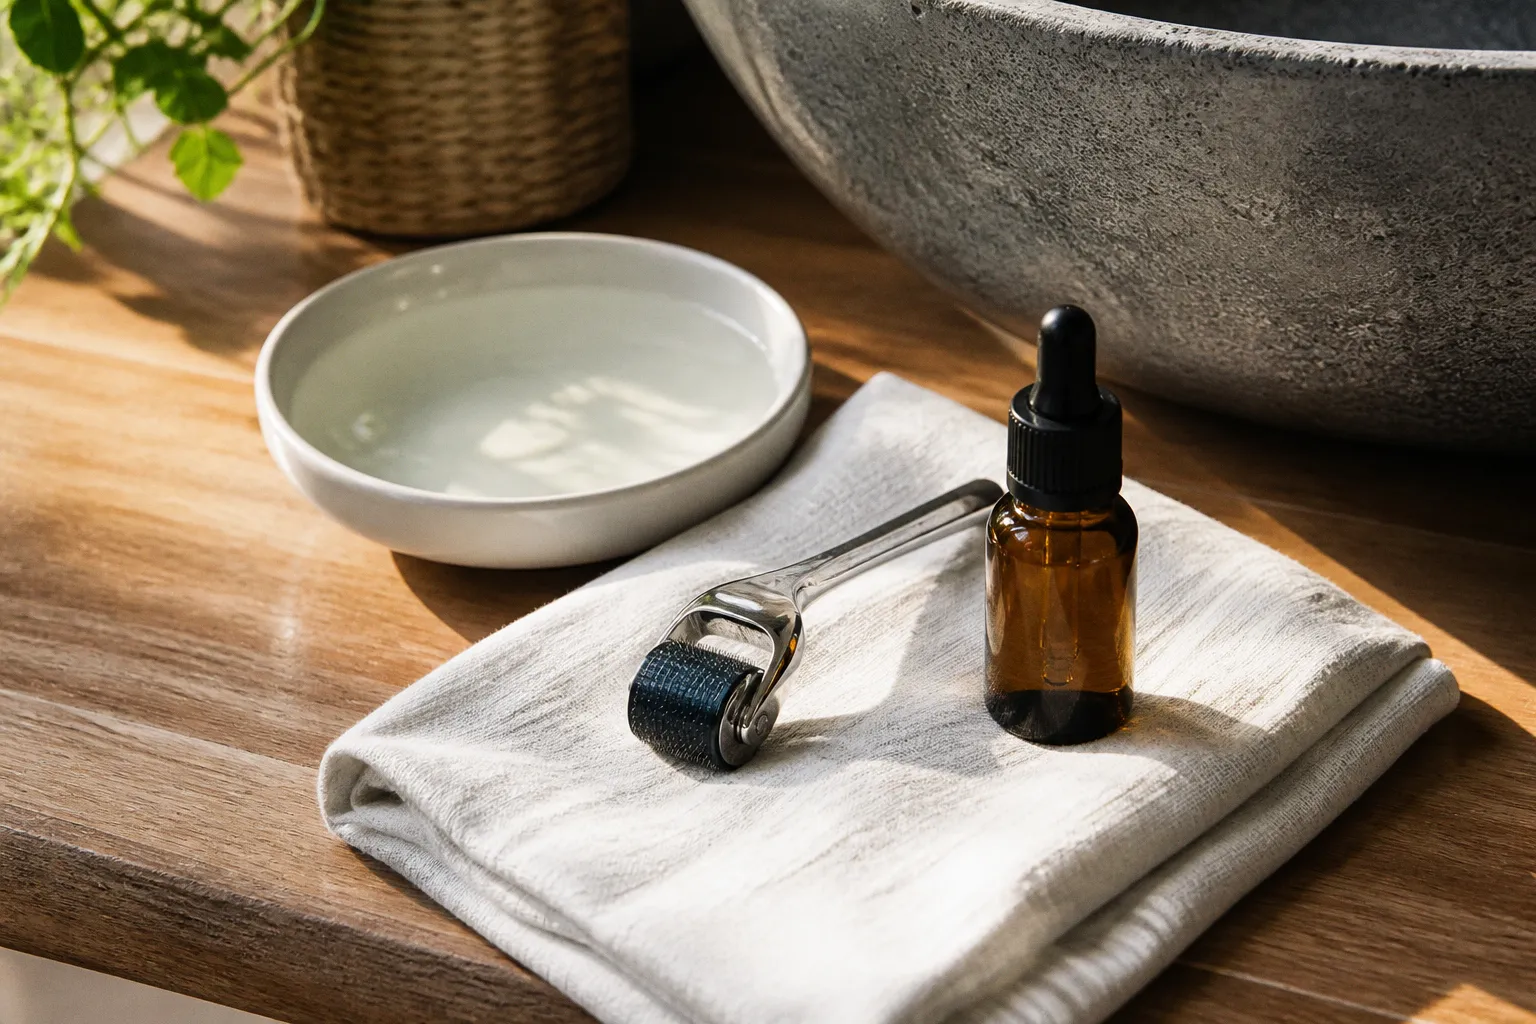
The moment the needles touch the beard area, they create tiny openings in the skin, and the quality of your preparation determines whether the session feels like a controlled grooming ritual or leaves the barrier irritated and unsettled.
In my practice, the most common problems do not begin with the rolling motion itself. They begin earlier: a roller that was only rinsed, hands that were washed too quickly, active skincare applied the night before, or facial hair trimmed after the session instead of before it. A careful derma roller beard prep checklist is therefore less about adding complexity and more about removing avoidable sources of friction.
The aim is simple: clean tool, clean skin, calm barrier, manageable beard length, and an appropriate needle size. When those elements are in place, the routine becomes quieter, more restorative, and much easier for the skin to tolerate.
Start with the derma roller, not the beard oil
The roller is the part of the ritual that deserves the most respect. Even when it looks clean, the needle head may carry invisible residue from storage, handling, or a previous session. Rinsing it under water does not provide the same level of sanitation as disinfecting it with an appropriate alcohol solution.
For home use, the roller should be soaked in at least 70% isopropyl alcohol for 30 seconds to 5 minutes before every session. This step is not decorative preparation. It is what helps reduce the chance of introducing bacteria into the micro-injuries created during microneedling.
A practical sanitation sequence looks like this:
1. Wash your hands with soap and warm water for at least 20 seconds. Clean beneath the nails and around the fingertips, because these are the areas most likely to touch the roller and beard skin.
2. Pour fresh isopropyl alcohol into a clean container deep enough to cover the needle head. Do not rely on alcohol that has been sitting in an open dish and collecting dust.
3. Submerge the roller for 30 seconds to 5 minutes, according to the instructions supplied with the tool.
4. Remove it without touching the needles. Allow it to air-dry on a clean surface rather than wiping the head with a towel or tissue.
5. After the session, clean and disinfect the roller again before returning it to its case. A damp, used tool sealed into a closed container becomes a welcoming environment for residue and microbes.
A derma roller is not an ordinary grooming accessory. Treat the needle head as a skin-contact instrument, and the whole routine becomes more careful by nature.
Do not share a derma roller with another person, even if both of you intend to disinfect it. The tool is designed for personal use, and sharing creates unnecessary exposure to bacteria, blood, and skin debris. Replace the device when the needles become bent, dull, damaged, or difficult to clean properly. A roller that drags across the face rather than gliding has already lost the quality you need from it.
Where sanitation often goes wrong
The most frequent mistake is confusing visible cleanliness with disinfection. A roller may look bright and spotless while still carrying microscopic contamination. Another common error is spraying a small amount of alcohol over the head and immediately putting it away. Surface contact needs time; the needle head must be fully immersed for the recommended period.
It is also easy to contaminate a disinfected roller by placing it on a bathroom counter, touching the needles with your fingers, or passing it over beard oil before the skin is prepared. Keep the sequence orderly. The roller should be the last object you handle before beginning, and your hands should remain clean throughout the session.
Prepare the skin and beard as one surface
Beard hair can conceal oil, sweat, dead skin, styling residue, and tiny particles that are not obvious when the face is dry. The skin beneath the beard still needs to be cleansed thoroughly, particularly around the jawline, corners of the mouth, and upper neck where product can accumulate.
Use a gentle facial wash rather than a harsh degreasing cleanser. The purpose is to remove dirt and excess oil without leaving the skin tight, squeaking, or flushed. A stripped barrier is more reactive, and microneedling over already uncomfortable skin is a poor beginning.
Wash your hands before touching the face, then cleanse the beard area with lukewarm water. Work the cleanser through the hair so it reaches the skin beneath. Rinse carefully, because leftover surfactants caught in dense facial hair can contribute to stinging later. Pat the area dry with a clean towel. Do not scrub, brush aggressively, or use a rough exfoliating cloth to force the skin to feel especially smooth.
The beard should be trimmed before derma rolling, not afterward. Long or uneven hairs make it more difficult to maintain consistent contact, while loose clippings created after the session may settle into the newly punctured skin. The goal is not necessarily a completely shaved face; it is a tidy, manageable surface that allows you to see where the roller has passed.
A comfortable preparation order is:
1. Trim stray hairs and reduce excessive length.
2. Remove the clipped hairs from the face, neck, clothing, and work surface.
3. Wash your hands.
4. Cleanse the beard and surrounding skin with a gentle facial wash.
5. Pat dry with a clean towel.
6. Sanitize the roller and allow it to air-dry.
7. Begin only when the skin is calm, dry, and free from visible product.
If trimming leaves the skin burning or visibly red, pause. The freshly irritated area does not need another source of mechanical stimulation. Give the skin time to settle rather than treating the planned session as something that must happen on schedule.
The role of beard products before rolling
Artisan beard oils, conditioning balms, and waxes belong after the skin has recovered, not beneath the roller. Oils can create drag, while waxes and balms may leave a coating that interferes with clean contact. Fragrance materials and botanical extracts that feel soothing on intact skin may sting once the barrier has been opened.
This is one reason I prefer a simple pre-session surface: clean skin, no beard oil, no balm, no styling wax, and no active treatment layered underneath. The more ingredients present, the less clear it becomes what the skin is reacting to if discomfort appears.
Pause active skincare before microneedling
The skin needs a quiet interval before a derma rolling session. Retinoids, AHAs, BHAs, and other chemical exfoliants can increase sensitivity, dryness, and reactivity. Using them too close to microneedling may turn a controlled treatment into an unnecessarily abrasive experience.
A reasonable pre-session pause is 3 to 7 days for retinoids, AHAs, BHAs, and chemical exfoliants. The exact timing depends on the product, its strength, and how your skin responds. Someone who is already peeling, tight, flushed, or tender should not use the shorter end of a general range simply because the calendar allows it.
This pause applies to products used on the beard area and the surrounding face. Active ingredients can affect the condition of the skin beyond the exact places where facial hair grows. If your routine includes a prescription treatment, a strong exfoliating formula, or a product that regularly causes dryness, discuss the timing with the prescribing clinician rather than changing the schedule casually.
The same restraint applies to new products. Do not introduce a new beard oil, exfoliating wash, fragrance-heavy balm, or botanical serum immediately before rolling. A pre-session routine is not the moment to experiment with several unfamiliar ingredients. Keep the skin’s environment predictable.
Ingredients and practices to leave aside beforehand
- Retinoids and retinol-based products, which may leave the skin more delicate and reactive.
- Alpha hydroxy acids and beta hydroxy acids, including exfoliating toners and treatment washes.
- Chemical peels or concentrated exfoliating masks.
- Scrubs, facial brushes, and aggressive buffing.
- Strongly fragranced beard oils or balms used directly before the session.
- Any product that causes burning, peeling, or persistent redness on your skin.
A gentle cleanser is enough for the preparation stage. The restorative part of the ritual comes from pacing and cleanliness, not from making the face feel intensely stripped.
Respect the seven-day sun window
Sun exposure changes the condition of the skin in ways that may not be immediately visible. A face can feel normal while carrying heat, dryness, or low-level inflammation beneath the surface. Rolling over recently sun-exposed or tanned skin increases the possibility of pronounced irritation and post-inflammatory hyperpigmentation.
Avoid direct sun exposure, tanning beds, and fake tans for at least 7 days before microneedling. This includes deliberate tanning and long periods outdoors without meaningful protection. If the skin is sunburned, visibly darker from recent exposure, hot, peeling, or unusually sensitive, postpone the session beyond the minimum window and wait until the barrier feels fully settled.
Fake tan deserves particular attention because it can make the surface appear even while the underlying skin is not necessarily calm. Self-tanning products may also collect unevenly around beard hair and dry patches, creating a less predictable surface for rolling.
A sun-conscious pre-session routine includes:
- Avoiding intentional tanning for at least seven days.
- Using suitable daytime sun protection as part of ordinary skin care.
- Postponing the session after sunburn, heat exposure, peeling, or significant redness.
- Not attempting to remove a fake tan aggressively with scrubbing or acids immediately before rolling.
- Choosing a cooler, calmer day for the session if your skin is prone to flushing.
The skin does not benefit from being hurried back into treatment after sun exposure. A delay is not a failed routine; it is often the most restorative choice available.
Choose a conservative needle length
At-home beard microneedling is not improved by choosing the longest needle you can find. More penetration means more disruption, not automatically more growth. Needle lengths of 0.3 mm to 0.5 mm are generally used for home beard derma rolling, while needles over 1.5 mm should not be used at home without medical supervision because of the increased risk of tissue damage.
The correct size depends on the intended purpose, the tool design, the condition of the skin, and your experience. A longer needle is not a shortcut for sparse facial hair, and derma rolling cannot revive completely absent or genetically missing follicles. It is also not appropriate to roll over active acne breakouts, open wounds, or inflamed skin conditions.
| Needle length | Practical home perspective | Main preparation concern |
|---|---|---|
| 0.3 mm | A conservative option for surface-level beard and skin routines | Keep the skin clean and avoid layering irritating products |
| 0.5 mm | Commonly used for at-home beard microneedling | Requires especially careful sanitation and a calm barrier |
| Over 1.5 mm | Not suitable for unsupervised home use | Increased risk of tissue damage; seek medical guidance |
A roller should move with light, even contact. If you feel that you need to press hard to reach the skin through the beard, the hair may be too long, the tool may be unsuitable, or the technique may not be appropriate for home use. Pain is not evidence of effectiveness.
Conditions that should stop the session
Do not proceed over skin that is actively inflamed, infected, wounded, peeling, or acutely irritated. Put the roller aside if you have:
- Open cuts from trimming or shaving.
- Active acne lesions, pustules, or a spreading breakout.
- Cold sores or another active facial infection.
- Eczema, dermatitis, or unexplained inflammation in the rolling area.
- Sunburn or significant heat-related redness.
- Persistent tenderness that has not resolved from a previous session.
If you are uncertain whether a skin condition is suitable for microneedling, professional assessment is more appropriate than trying to work around it. Facial skin and beard follicles can respond unpredictably when inflammation is already present.
Build the session around a clean, quiet environment
Preparation is not limited to the skin. The surface beneath your tools should also be clean, dry, and uncluttered. Keep the alcohol, cleanser, roller, and clean towel within reach before beginning so you are not searching through drawers with freshly washed hands.
Good lighting matters because it allows you to see redness, missed cleanser, and stray clippings. A mirror at eye level reduces awkward stretching and helps you keep the roller in controlled contact rather than repeatedly passing over the same area.
Avoid preparing immediately after intense exercise, a hot shower, sauna, or anything else that leaves the face flushed and warm. The skin should feel neutral rather than heated. A cool room, clean hands, and a slow pace support the grounded quality of the routine.
You may find it useful to keep a small personal record of the date, needle length, and how the skin felt afterward. This is not a demand for elaborate tracking. It simply helps you notice whether a certain product, timing, or tool leaves the beard area comfortable or reactive. Your own response matters more than the promise attached to a bottle or device.
The complete beard microneedling pre-session checklist
Use this sequence before each session:
1. Inspect the skin. Look for cuts, active acne, open wounds, sunburn, peeling, or inflammation. If any are present, do not roll over them.
2. Check the beard length. Trim excessive length and remove every visible clipping from the face and work area.
3. Pause active ingredients. Make sure retinoids, AHAs, BHAs, and chemical exfoliants have been discontinued for the appropriate 3-to-7-day interval.
4. Review sun exposure. Allow at least seven days after direct sun, tanning beds, or fake tan, and wait longer if the skin remains reactive.
5. Wash your hands. Use soap and warm water for at least 20 seconds.
6. Cleanse the beard area. Use a gentle facial wash and rinse thoroughly beneath the facial hair.
7. Dry without friction. Pat the skin with a clean towel and leave it free of oil, balm, wax, and active treatments.
8. Disinfect the roller. Soak the needle head in at least 70% isopropyl alcohol for 30 seconds to 5 minutes, then let it air-dry.
9. Confirm the needle length. For home use, remain within the conservative 0.3 mm to 0.5 mm range; do not use needles over 1.5 mm without medical supervision.
10. Set up a clean space. Keep the tool and skin-contact items protected from bathroom splashes, loose hair, and unnecessary handling.
If any one of these steps feels impossible on a particular day, that is useful information. The session can wait. Facial hair growth is not improved by turning a rushed or contaminated routine into a test of endurance.
What to leave for after the session
A clean pre-session surface gives the skin fewer variables to manage. Immediately afterward, resist the instinct to compensate with multiple layers of beard care. Newly rolled skin may be more sensitive to fragrance, essential oils, exfoliating acids, retinoids, and other active ingredients.
Keep the post-session approach gentle and uncomplicated, following the instructions supplied with your specific device or professional provider. Avoid applying a familiar beard oil simply because it normally feels comforting. The exact reaction when particular natural beard oils are used immediately after microneedling is not predictable for every person, and botanical does not automatically mean barrier-neutral.
The same principle applies to styling. A conditioning balm can be enveloping and restorative on an intact beard, while its fragrance or occlusive texture may feel too much on freshly treated skin. Let the skin settle before returning to a full grooming ritual.
The best beard routine is not the one with the most steps. It is the one that leaves the skin calm enough to welcome the next step.
A slower routine is usually the safer routine
Derma rolling for the beard area sits at the meeting point of grooming and skin care. That combination can be useful, but it leaves little room for casual handling. Clean equipment, freshly washed skin, a trimmed beard, a pause from irritating ingredients, and protection from recent sun exposure form the foundation.
The roller itself is only one part of the result. The surrounding ritual determines how much unnecessary stress the skin must absorb. When preparation is deliberate, the session becomes less about chasing faster facial hair growth and more about creating a consistent, barrier-aware practice.
Begin with clean hands. Work over calm skin. Choose a conservative needle length. Leave active products, sun-exposed skin, and inflamed areas alone. Your beard care does not need to be forceful to be effective, and your skin is allowed to set the pace.